FAQs
About Airfig
What is Airfig?
Airfig is a Figma plugin that enables you to create content in Airtable and flow it into your Figma layouts. If the content in Airtable changes, it’s easy to update it with a few clicks in Airfig.
The basic workflow is that you create a Figma “template”, such as a card or table, with content layers that match the the types of content fields of an Airtable table (text, image, etc.). When you run Airfig, it will create multiple instances of that Figma template, each with the data of a record from the Airtable table.
Watch this video to see Airfig in action.
Is Airfig secure?
Unlike many Figma plugins that connect to third party applications, Airfig uses OAuth, not your Airtable key, to connect Airfig to your Airtable bases, so your Airtable key can never be exposed.
Your Airtable data passes through our authentication server, but we never record any Airtable data — we just pass it on to Airfig. So you can use Airfig knowing that Airfig’s architecture is designed around the security of your data.
How much is Airfig?
Airfig is a subscription based plugin – the cost is $24 per user per year — just $2 a month! Your subscription helps us continue making Airfig more useful and secure.
Your subscription is automatically renewed unless you cancel at least one day before the renewal date.
Can I cancel any time?
You can cancel any time, and your subscription will expire at the end of the current subscription period. Visit your Airfig account to cancel your subscription.
Do I get free updates?
Yes, updates are free as long as your Airfig subscription is active. You receive updates automatically — Airtable loads from Figma’s server each time you select Airfig in the Plugins menu, so you are always on the latest version.
Airfig Set Up
How do I set up Airfig?
Open the Figma app or load Figma in your browser.
In the Figma app
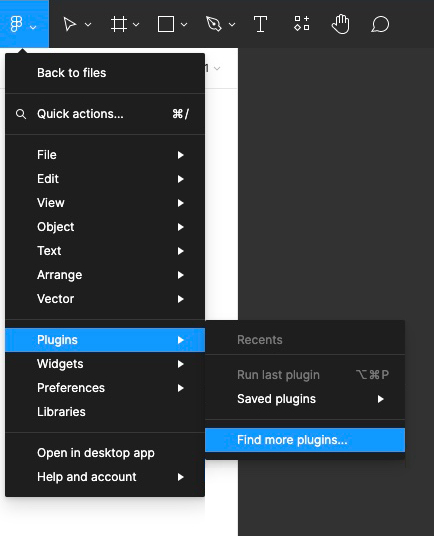
From the Figma menu bar, select Plugins > Find more plugins.
Search for Airfig, hover pointer over Airfig in the results, and select Run.

Figma in a browser
Select the Figma icon top left > Plugins > Find more plugins.
Search for Airfig, hover pointer over Airfig in the results, and select Run.
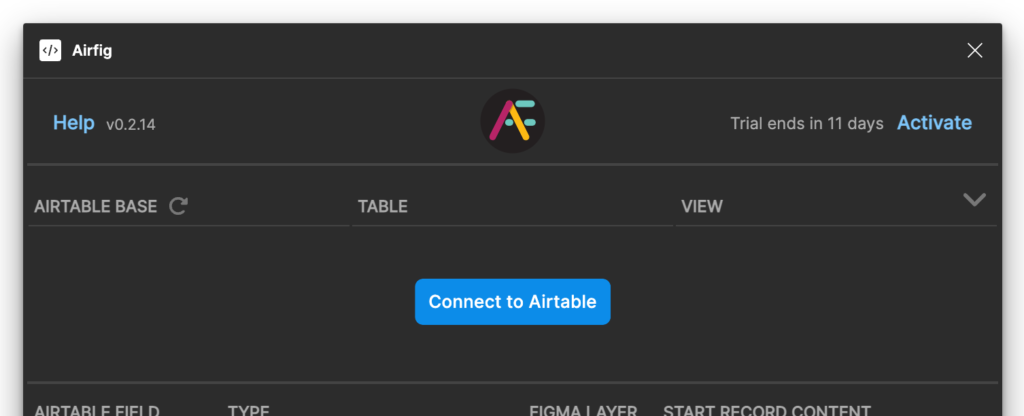
Airfig will open and also appears in the Plugins menu.
How do I connect Airfig to Airtable?
Open Airfig, select the Connect to Airtable button.
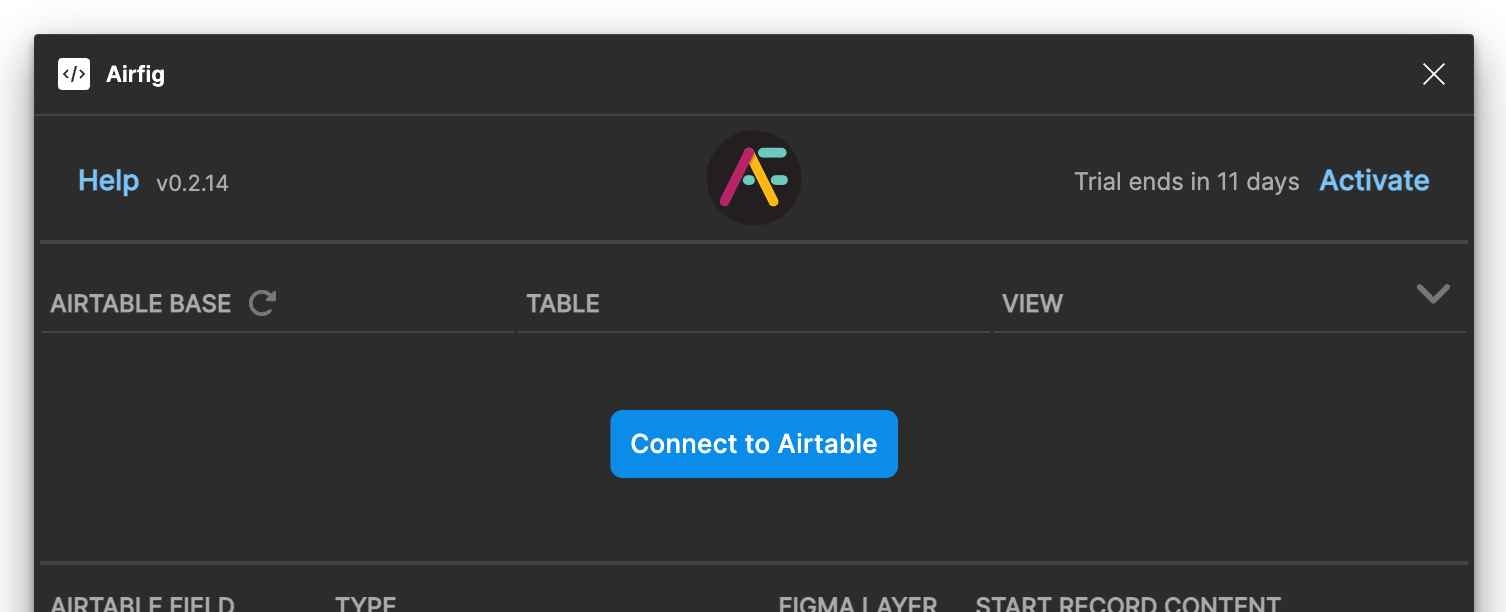
(If you are not logged into Airtable, you will be asked to login.)
Select the WorkSpaces or Bases you want Airfig to access.
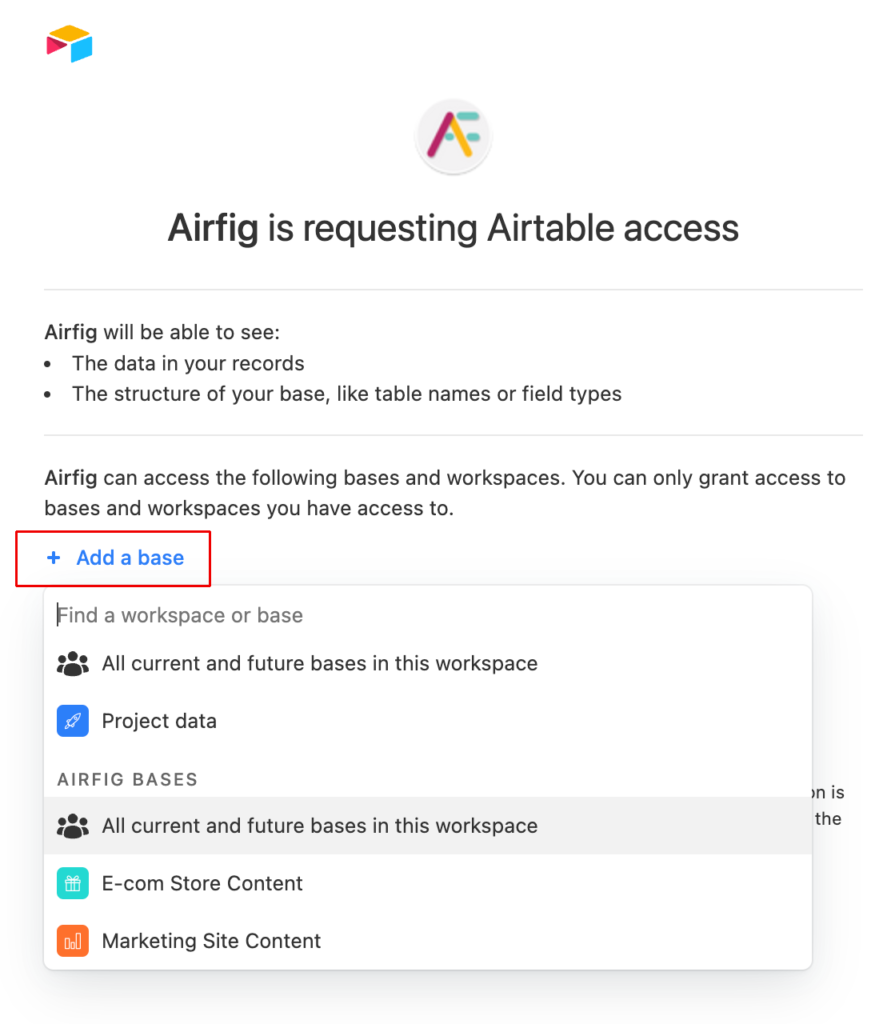
Tip: As illustrated in the screenshot above, it’s good practice to create a Workspace called Airfig Bases and move the bases you want to make available to Airfig into that Workspace. Then you can share this Workspace with others on your team without giving access to all your Airtable bases. In Airtable’s Bases view, scroll to the bottom of the page and select Add a Workspace then name the new Workspace. Next, select the down arrow on a Base icon and select Move Base to move it to the new Workspace.
After selecting a workspace or base, click Authorize.
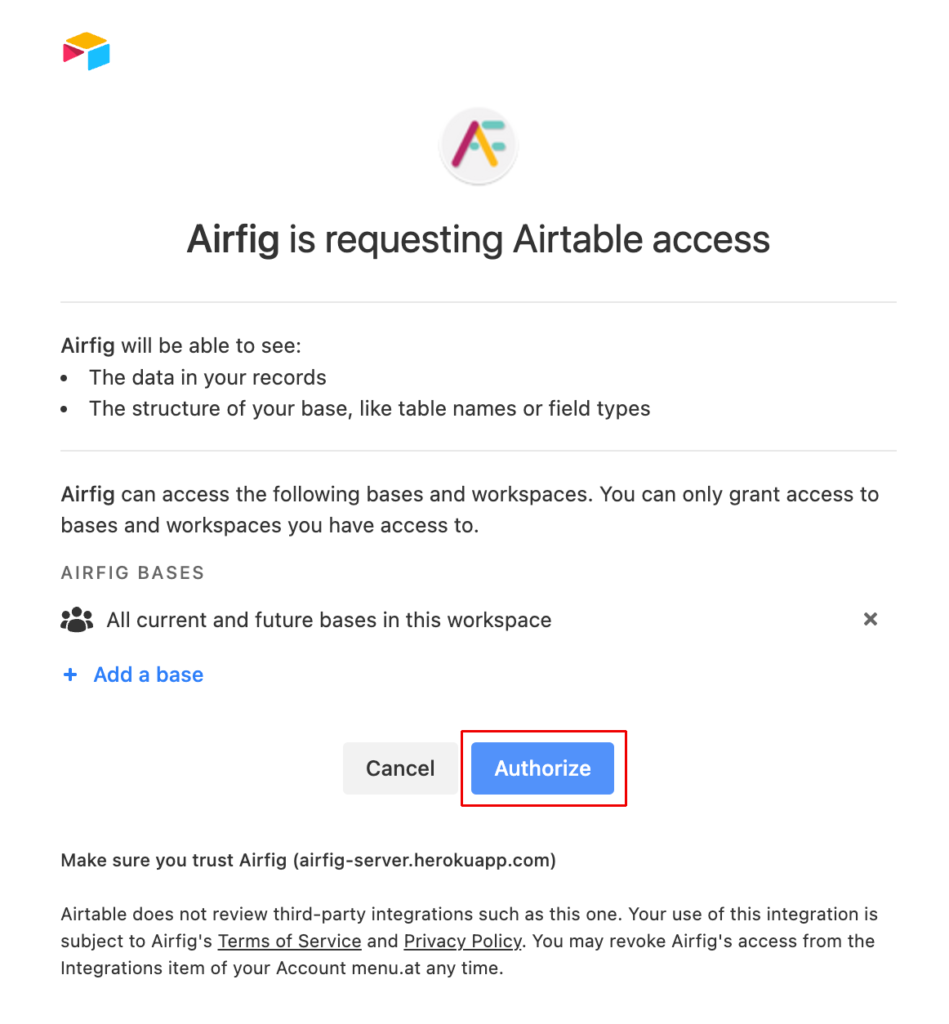
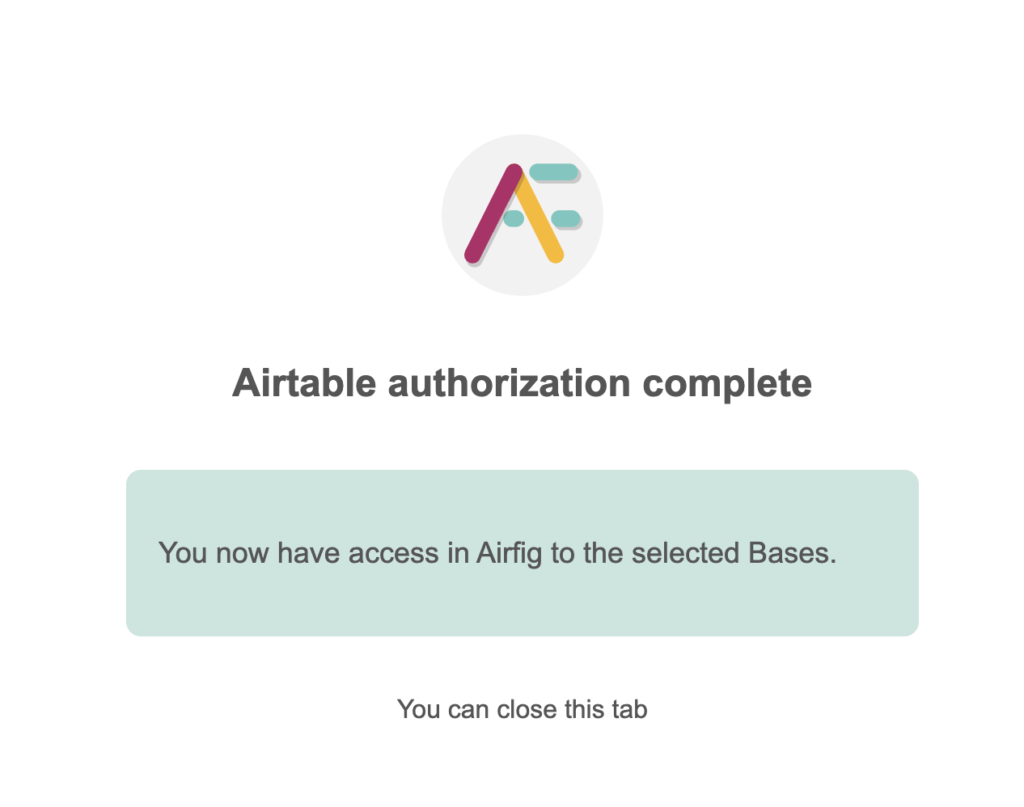
You will see a confirmation and you can close the browser window and return to Figma. Airfig will be authorized when you open it from the Figma Plugins menu.
How do I change the bases that Airfig can access?
Changing the bases that you can access in Airfig is a two-step process.
Step 1: Revoke Access to the current bases
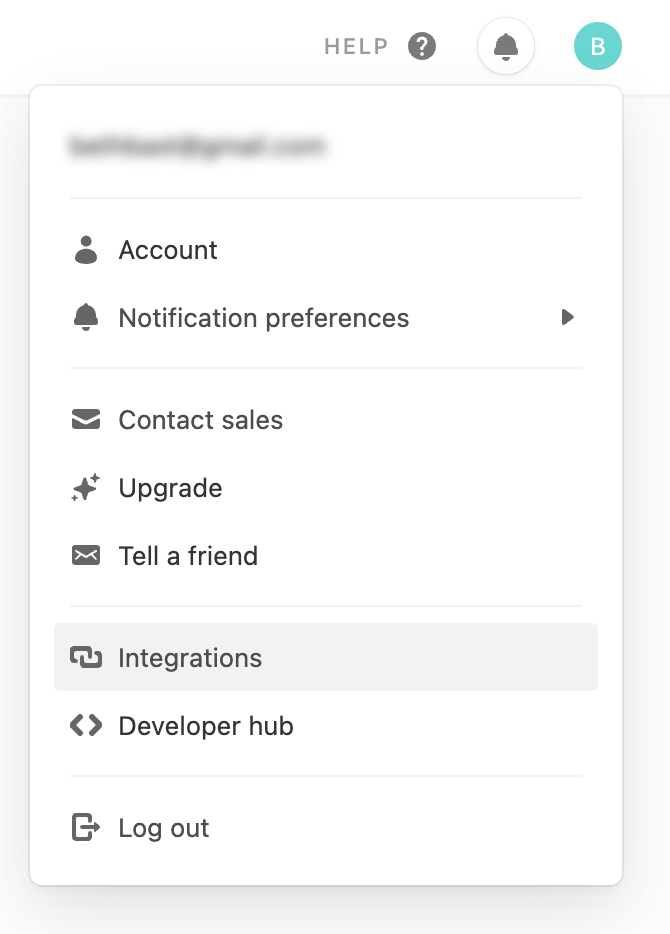
In Airtable, select the Profile menu (top right – avatar) > Integrations
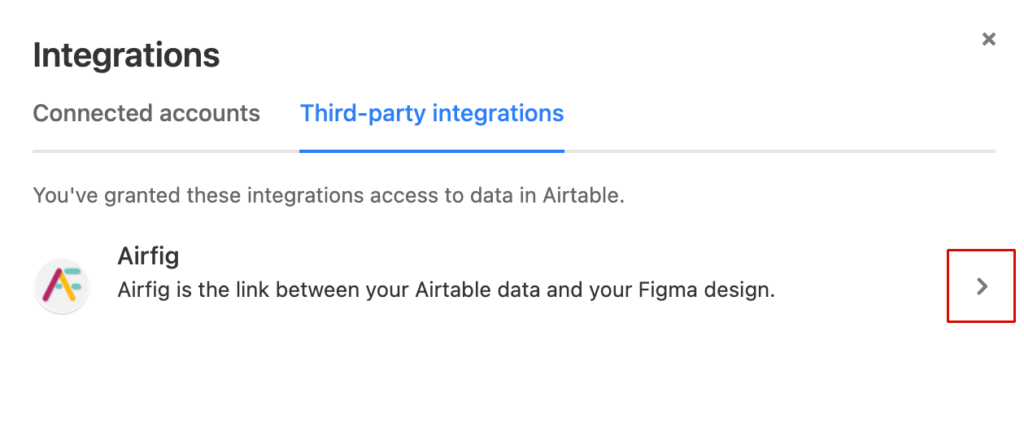
Select the Third Party Integrations tab and click the arrow next to Airfig.
Select the Airtable integration item and select Revoke Access. Confirm.
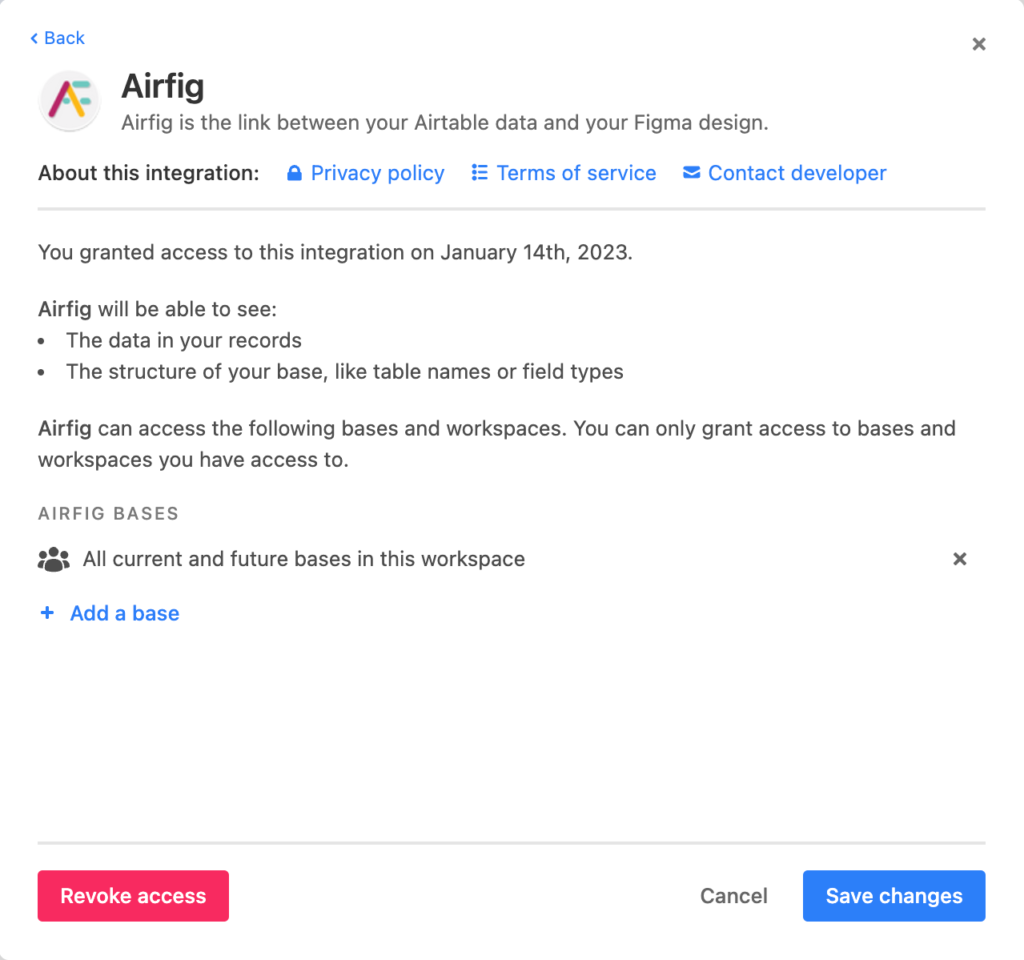
You will see a confirmation. You can now close the browser window.
Go back to Figma, open Airtable, and you will see the Connect to Airtable button has reappeared.
Step 2: Connect to the preferred Workspaces or Bases
Follow the How do I connect Airfig to Airtable steps in the previous FAQ, and select the bases you now want to access from Airfig.
